Skip to content
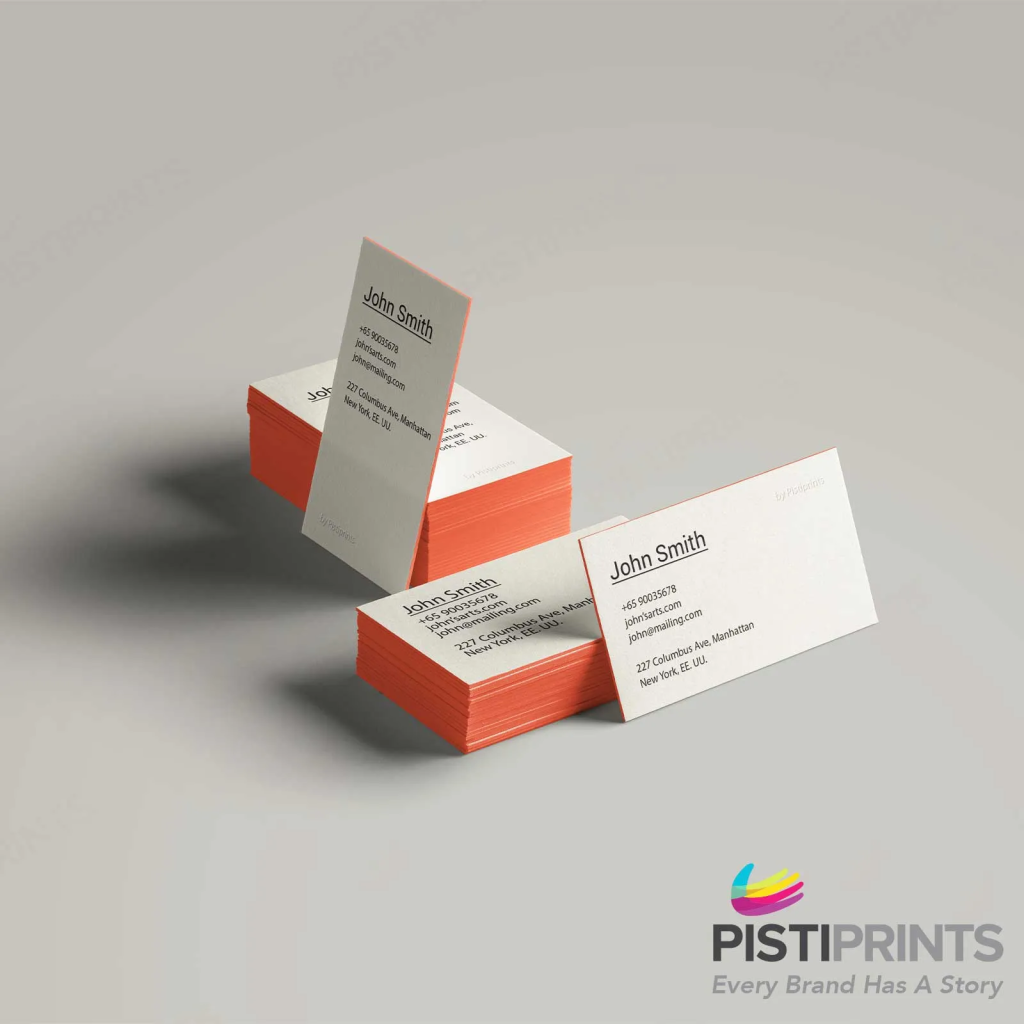
You’d think business cards would be long gone by now, right? With everything moving online, most people assume they’ve gone out of style. But the truth is, they still pack a serious punch. A business card isn’t just a piece of paper; it’s a handshake in print. The texture, the weight, the design choices all come together to tell someone what kind of brand you run before you even say a word. First impressions aren’t just visual, they’re tactile.
If you’re planning to create one, this guide will walk you through every step of the process. Whether you’re an entrepreneur, freelancer, or part of a growing team, you’ll learn how to design cards that not only look sharp but feel premium too.
From Blank Canvas To Bold Identity: 8 Business Card Design Tips
Step 1: Get Clear on the Purpose
Before diving into design, think about the “why”. Is the card for you personally, your brand as a whole, or maybe your entire team? What’s the goal when someone holds your card? Do you want them to call you, visit your website, or simply remember your name days later? Also consider the tone you want it to set. Should it feel playful, premium, bold, or strictly professional? Having a clear purpose keeps the design focused and makes every decision easier.
Step 2: Nail the Key Info
Start with the must-haves. Your name, title, phone number, email, website, and social handles if they’re relevant. Then think about extras like a logo, tagline, QR code, or address. These can add value but only if they don’t overwhelm the layout. Make sure every piece of text earns its place. The best business cards in Singapore are the ones that communicate cleanly and confidently.
Step 3: Sketch the Layout
Now, figure out how everything fits. Do you want a one-sided design or does a double-sided layout make more sense? Decide what should catch the eye first. Maybe your name or your logo deserves top billing. Use visual hierarchy to guide the viewer’s eye. And don’t be afraid of empty space. White space gives your content room to breathe and keeps your card from looking crowded or cheap.
Step 4: Choose Your Style
This is where your card starts to reflect your brand’s personality. Choose fonts that are clean, easy to read, and aligned with your brand voice. Stick to a focused colour palette and use contrast to make key elements stand out. Add graphics or icons only if they serve a clear purpose and feel consistent with the rest of your branding. When it all comes together, your business card feels intentional, not random.
Step 5: Pick the Right Size and Shape
Most people stick to the standard business card size, but that doesn’t mean you have to. Try vertical layouts for a modern look or square cards for a bold twist. Rounded corners can soften the feel, while die cuts let you play with shape in creative ways. If you want your brand to stand out in a pile, thoughtful design choices like these go a long way. When it comes to standout name card printing in Singapore, small customisations can create a big impact.
Step 6: Select Your Paper and Finish
How your card feels in someone’s hand says a lot. Matte finishes offer a smooth, modern look. Gloss can make colours pop, and textured stock adds an elevated feel. Thicker cards naturally feel more premium. If you really want to impress, consider foil stamping, spot UV, or embossing. At Pisti Prints, we specialise in premium business cards in Singapore that don’t just look great but leave a lasting tactile impression.
Step 7: Prep Your Files Like a Pro
When your design is locked in, make sure the file is ready for print. Add bleed and trim marks to avoid unwanted cuts. Convert all fonts to outlines so nothing shifts in the process. Export your file as a high-resolution PDF and make sure it’s in CMYK colour mode. It might sound technical, but getting these steps right is key to ensuring your cards look as good in print as they do on screen.
Step 8: Print with the Right Partner
You’ve put time and effort into your design. Now choose a print partner who respects that. Look for someone who understands both aesthetics and quality. Request a sample before printing in bulk, and always confirm the turnaround time to avoid delays. When it comes to business card printing in Singapore, Pisti Prints makes the process easy with premium material choices and expert guidance, from start to finish.
Finally, when your cards arrive, take a close look. Check alignment, finish, and how the colours turned out. Then start handing them out. Keep a few in your bag, wallet, or even your phone case. The next opportunity could come from a quick coffee run or an unexpected meeting. And remember, as your business evolves, your card should evolve too. Updating your design regularly keeps your brand fresh and your message clear.
Conclusion:
Your business card is often the first real impression someone has of your brand, so make it count. With the right design, layout, and finish, a simple card can become a powerful extension of your identity. Whether you’re meeting a client, pitching an idea, or making a new connection, Pisti Prints helps you create business cards that leave a lasting impact.
Reach out to us today and start creating business cards that work as hard as you do.